Nobody hires a contractor because of their base preparation. People choose pavers, they choose a pattern, they look at photos of finished patios. Then two or three winters later some of them are standing on a surface that has developed waves, a low spot that holds water, or a section that lifted where it meets the house.
That failure is almost never the pavers. Pavers are extremely durable. It’s what’s underneath them, and in a climate that freezes and thaws as relentlessly as ours, the underneath is most of the job.
Here’s what’s actually down there, in order, and what each layer is doing.
The problem we’re building against
Freeze-thaw is the whole story in Montana. Water in the ground expands when it freezes and lifts whatever is on top of it. When it thaws, that support disappears and things settle back down — not always evenly, and not always back where they started.
Do that a few dozen times a season and a patio built on unsuitable material will telegraph every bit of it. What makes our climate harder than a colder one is that we don’t freeze once and stay frozen. We cycle, repeatedly, especially through the shoulder seasons.
The defense is straightforward in principle: build on material that drains, so there’s less water down there to freeze, and compact it so it doesn’t have room to shift. Everything below follows from that.
Layer one: excavation
The first real decision is how deep to dig, and it’s the first place a cheap installation gets cheap.
You’re removing topsoil and any organic material entirely. Topsoil holds water, compresses under load, and continues to break down. Building a patio on it guarantees settling regardless of what you put on top. That means digging down past it to material that will actually hold.
Depth depends on the soil you find, the drainage, and what the surface has to carry. A patio for chairs and a table asks less of the base than a driveway approach carrying vehicles. The valley floor around Belgrade and Bozeman can be quite different from a bench or a foothill site a few miles away, and the honest answer to “how deep” comes from digging and looking, not from a rule of thumb applied from the truck.
There’s a related judgment here: a patio bid that quotes a base depth without anyone having assessed the soil is quoting a guess.
Layer two: base material and compaction
Into that excavation goes crushed aggregate. Two things about it matter more than the material itself.
It has to drain. The purpose of the base is partly structural and partly hydraulic — water needs somewhere to go besides sitting under your pavers waiting to freeze. Material that packs into something impermeable defeats the point.
It has to be compacted in lifts. This is the detail that separates a real base from a pile of gravel. Aggregate dumped to full depth and compacted once compacts properly at the top and stays loose underneath. Compacting in layers — placing several inches, compacting, placing more, compacting again — is what produces a base that’s actually dense the whole way down.
Skipping lifts is invisible on the day of installation and completely visible three winters later. It’s one of the most common corners cut, precisely because you cannot see it once the pavers are down.
Compaction also has to reach the edges. Bases frequently get compacted well in the middle and inadequately at the perimeter, which is exactly where edges then settle and pavers start to drift.
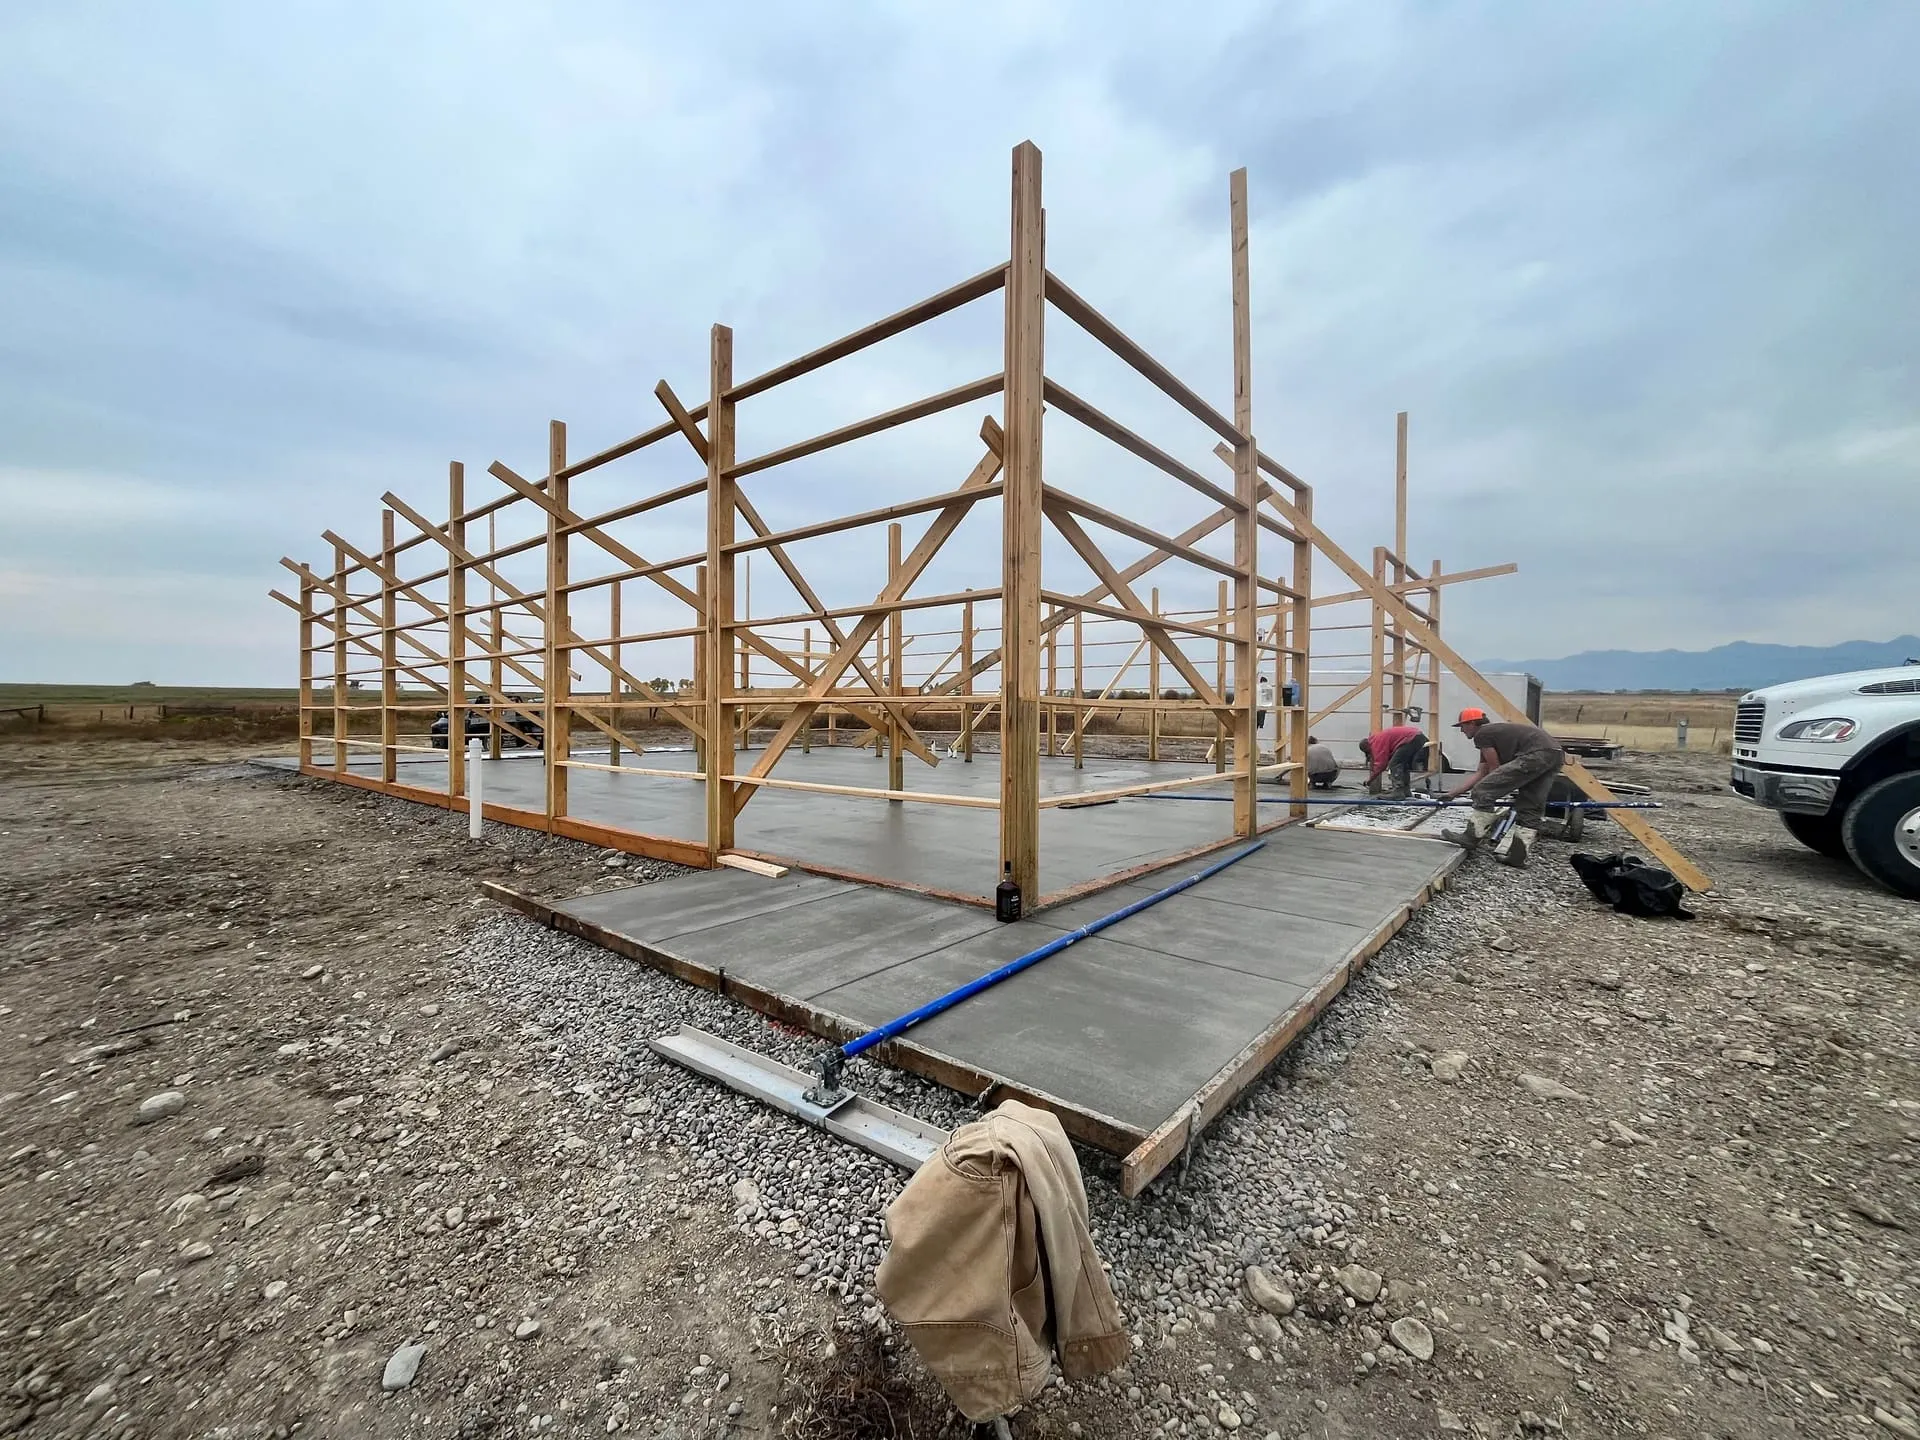 Most of the work that determines how a hard surface performs happens before anything visible goes down.
Layer three: the setting bed
On top of the compacted base goes a thin, screeded layer that the pavers actually sit in. Its job is to let each paver seat evenly and sit at the right height.
The critical word is thin. The setting bed is a leveling layer, not a structural one, and it is not there to make up for a base that wasn’t graded properly. Using a thick sand layer to correct for an uneven base is a classic shortcut, and it fails predictably: thick sand moves, migrates, and washes, and the surface follows it.
If the base is right, the setting bed is straightforward. If the base is wrong, no amount of sand fixes it.
Layer four: the pavers, and the pitch
The pavers go down in whatever pattern you’ve chosen. Pattern is partly aesthetic and partly structural — some interlocking patterns distribute load better than others, which matters more on a driveway than a seating area.
The thing that matters far more than pattern is pitch.
A patio must slope away from the house. Not much, but consistently, and never toward the structure. A flat patio holds water. A patio pitched toward the building delivers water directly to a foundation, which is the most expensive place for water to go. This is a design decision, made before excavation, and it’s not something you can adjust once the base is in.
You also want to think about where the patio’s runoff ends up. Moving water off the patio and into a spot that then puddles has solved one problem by creating another a few feet away. If the surface sits under a roofline, the water coming off that roof is part of the calculation.
Layer five: edge restraint
The most overlooked component, and the one that quietly determines whether a patio holds its shape.
Pavers work by interlock. Each one is held by its neighbors, and the whole field acts as a flexible surface. But that only works if the outer edge is held. Without restraint, the perimeter pavers gradually creep outward under load, the joints open, and the interlock loosens progressively inward from the edge.
Once that starts, it doesn’t stop on its own. Joint sand washes out of opened joints, weeds establish, and the surface begins to move as individual pieces rather than a unified field.
Edge restraint is inexpensive relative to the patio. Leaving it out, or installing it into inadequately compacted base, is a reliable way to shorten a patio’s life by years.
Layer six: joint sand
Sand swept into the joints locks the pavers to each other and completes the interlock. Polymeric versions stiffen when wetted, which helps resist washout and weed growth.
This is genuine maintenance rather than a permanent installation. Joints lose sand over time to rain, wind, snowmelt, and pressure washing. Topping up joint sand every few years is a small task that meaningfully extends the life of the surface, and it’s the one bit of upkeep worth actually doing.
What this means when you’re comparing bids
Two paver patio estimates can differ substantially and look almost identical on paper, because everything that explains the difference is invisible in the finished product.
Worth asking about specifically:
- How deep are you excavating, and what did you find when you looked at the soil?
- How much base, and are you compacting in lifts?
- Which way does it pitch, and where does the water go from there?
- What edge restraint are you using?
- What happens where it meets the house, and where roof runoff lands?
A contractor who has good answers to those questions has thought about your site. One who hasn’t been asked them before is telling you something too.
The pavers you can see are a small fraction of what you’re paying for and a small fraction of what determines whether you’re happy with it in ten years. That’s not an argument for spending more — it’s an argument for knowing what you’re buying.
Where we land
We build paver patios and walkways the way we build roads and footings, which is to say from the ground up and with drainage treated as a design problem rather than a detail. It’s the same reason we look at frost depth before we look at finishes.
Because excavation, base, stone, and concrete are all in-house, the patio gets planned along with the grading and drainage around it instead of being installed on top of whatever the last contractor left.
When you’re ready: plan your patio and we’ll look at the soil, the grade, and where the water goes before we talk about pattern. Free measurements across Gallatin and Park counties.